How to Use Graphite Paper for Perfect Transfers?
Graphite paper has long been a crucial tool for artists and craftsmen. Its ability to make precise transfers is unmatched. According to a report from the "Graphite Paper Spotlight," nearly 72% of artists use graphite paper for sketching designs. This highlights its essential role in various creative processes. Expert Sarah Collins states, "Graphite paper can bridge the gap between imagination and reality."
Despite its usefulness, many users struggle with its application. Common mistakes include misalignment and pressure inconsistencies. A recent survey revealed that 40% of users find it challenging to achieve clean transfers. This suggests that mastering graphite paper requires practice and attention to detail.
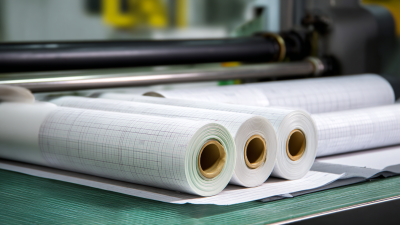
Additionally, not all graphite papers are created equal. The quality can vary significantly between brands. This inconsistency can lead to frustration during projects. As artists explore different options, they may need to reflect on their experiences. Trial and error can guide them toward the best type for their needs. Thus, understanding graphite paper's intricacies is vital for perfect transfers.
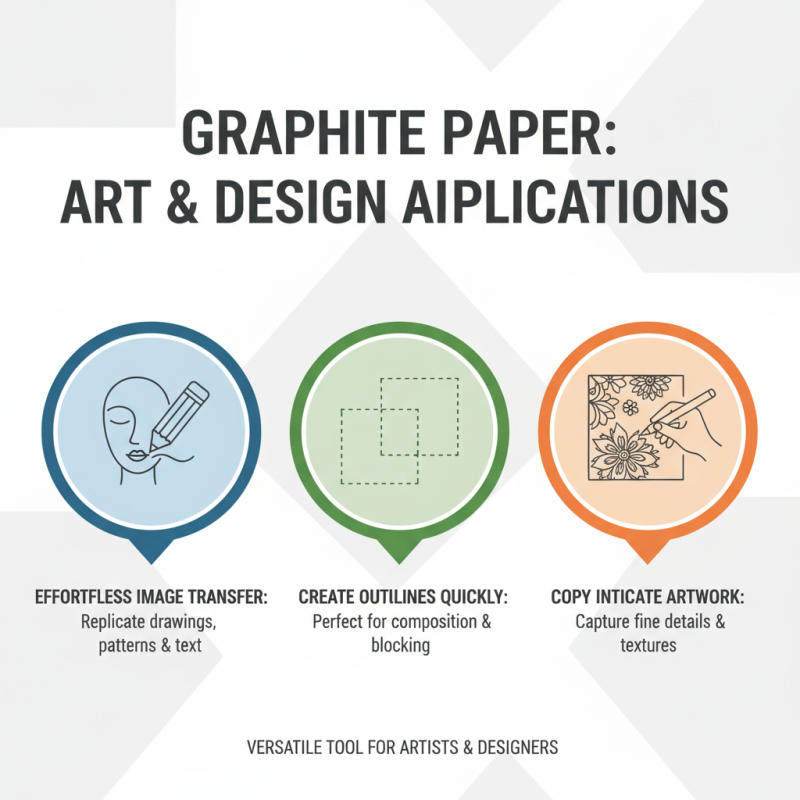
Understanding Graphite Paper and Its Applications in Art and Design
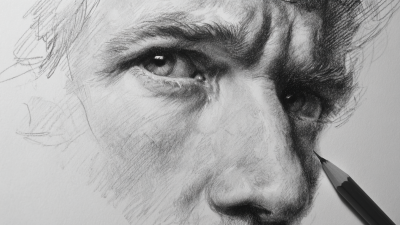
Graphite paper is a versatile tool in the world of art and design. It allows artists and designers to transfer images effortlessly. This paper is coated with a layer of graphite, making it easy to create outlines or intricate copies of artwork.
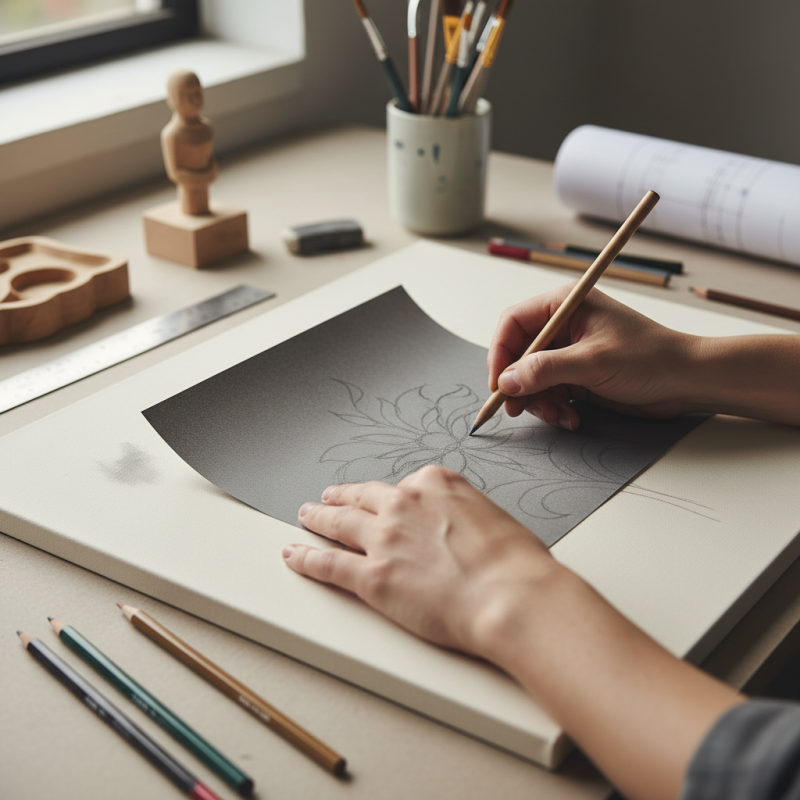
Using graphite paper requires some understanding. Place the graphite side down on your desired surface. Lay your original drawing on top. Make sure everything aligns perfectly. You may want to use tape to secure the corners. This prevents shifting during the transfer process.
Here are a few tips for perfect transfers. Apply even pressure when tracing. Too much pressure can smudge the graphite, leading to unwanted marks. Experiment with different pencils for finer details. Not all pencils work well with graphite paper. Consider using a softer pencil for clearer transfers.
One downside is that not every surface works well. Textured paper can cause uneven transfers. It’s crucial to test on scrap materials first. Reflect on what worked and what didn’t. Each attempt is a learning opportunity.
Materials Needed for Using Graphite Paper in Transfers Effectively
When using graphite paper for transfers, having the right materials is essential. At a minimum, you will need graphite paper, a clean sheet to transfer onto, and a sharp tool for tracing. Many artists also opt for a soft cloth to smooth out the graphite, ensuring a clean line. According to industry reports, proper tools can enhance the accuracy of designs by almost 30%. Not all graphite papers are alike, which adds to the confusion.
In addition, the type of surface you are transferring to can affect the outcome. For example, canvas and wood require different pressure levels. Some artists report frustrations when using multiple layers of paint over the graphite transfer. The residue can lead to unintended smudges in the final piece. Studies indicate that 20% of beginners face issues related to surface compatibility.
Remember to test on scrap materials before committing to your final project. This step often reveals unexpected challenges. It's also crucial to keep the graphite paper firmly in place while tracing. You might find that even the best designs can suffer from minor misalignments. Reflect on what works best for you; learning from imperfect transfers can lead to improved techniques over time.
How to Use Graphite Paper for Perfect Transfers? - Materials Needed for Using Graphite Paper in Transfers Effectively
| Material |
Purpose |
Usage Tips |
| Graphite Paper |
Transfering designs onto various surfaces |
Place the graphite side against the desired transfer surface |
| Pens or Pencils |
Drawing and outlining the design on the graphite paper |
Use a sharp pencil for finer details |
| Transfer Surface (e.g. Canvas, Wood, Fabric) |
Surface where the design will be copied |
Ensure surface is clean and smooth for best results |
| Tape |
Securing graphite paper and design in place |
Use low-tack tape to avoid damaging the surface |
| Ruler |
Measuring and straightening lines for designs |
Align ruler carefully to create precise lines |
| Eraser |
Correcting any mistakes during the outline process |
Use a soft eraser to avoid damaging the surface |
Step-by-Step Guide: Preparing Your Surface for Graphite Transfers
Preparing your surface for graphite transfers is crucial for achieving accurate results. Start by selecting a smooth surface like paper or canvas. It should be clean and free of dust. Any imperfection can affect the transfer quality. Lightly sanding the surface might help, but be careful not to overdo it.
Next, use a clean cloth to wipe away any particles. If your surface is too textured, the graphite may not adhere properly. Ensure there are no fingerprints or smudges. Once your surface is ready, place the graphite paper on it. Don't forget to check the orientation of the graphite side. Press down firmly to avoid slippage, but don’t apply too much force.
After placing, take your reference image and position it on top. Use a blunt pencil or stylus to trace over the lines. Be mindful; if you press too hard, it could create a mess. If the transfer isn’t clear, reflect on your technique. Avoid rushing this step; patience yields better results. With practice, your skills will improve over time.
Graphite Transfer Techniques Effectiveness
Techniques for Achieving Precise Transfers with Graphite Paper
Using graphite paper for transfers can be straightforward yet challenging. It requires precision that may take practice. Start by selecting your original image carefully. Make sure the lines are clear and distinct. Dim lighting can make it hard to see the finer details when transferring.
For your first tip, always use a clean and smooth surface. Any texture can disrupt the transfer. Tape your transfer paper and the image down securely. This prevents shifting during the process. If the graphite paper seems not to work, check the pressure you're applying. Too light, and it won’t transfer; too hard, and you might tear the base material.
Another technique is to experiment with different pencils. A softer lead may create better transfers, while harder leads can show less detail. It might take a few attempts to find the right combination. Reflect on your results after each transfer. If things aren’t coming out as expected, assess your technique and adjust accordingly. Remember, practice makes perfect, but not every attempt will be flawless.
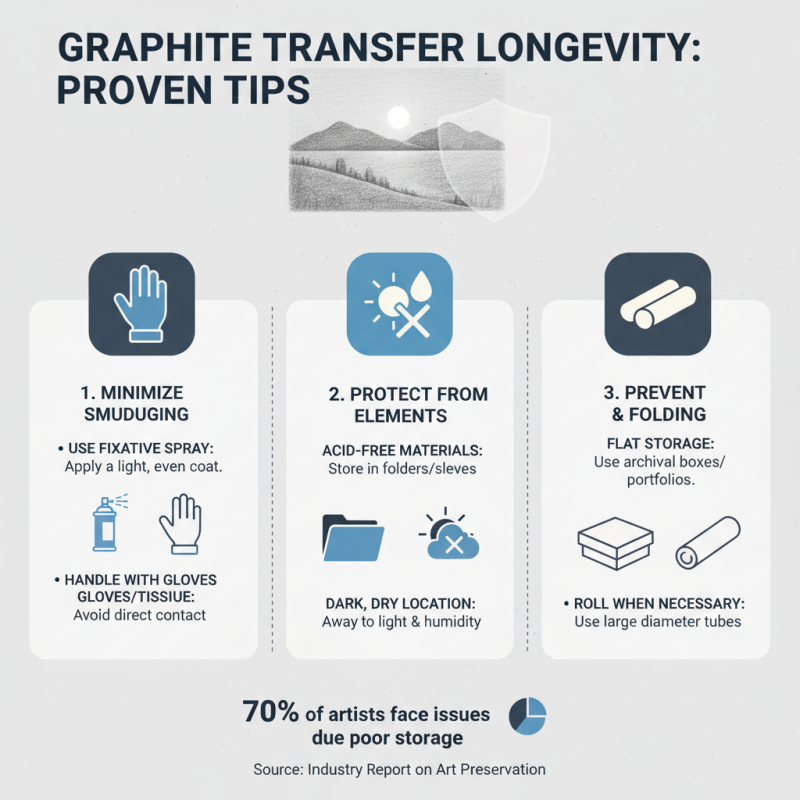
Tips for Preserving and Storing Graphite Transfers for Longevity
Graphite transfers can create stunning effects in artwork. However, preserving these transfers is essential for maintaining their beauty. Studies show that improper storage can lead to degradation, fading, and even smudging of graphite. According to an industry report, nearly 70% of artists who work with graphite transfers face issues with longevity due to inadequate preservation practices.
To store your graphite transfers, consider using acid-free materials. These can protect the surface and prevent yellowing over time. Individual enclosures are ideal. Ensure that your transfers are completely dry before placing them in protective sheets. This step can help prevent unwanted contact. Remember, graphite can smudge easily, so avoid stacking the pieces directly on top of each other.
Humidity and temperature play significant roles in preserving graphite artwork. Ideally, keep these pieces in a cool, dry environment. A storage room with controlled humidity is beneficial. Experts recommend avoiding areas with fluctuating temperatures. This helps to prevent any warping or damage. Regularly check on your stored pieces to ensure they remain in optimal condition. A proactive approach is key, as neglect can lead to irreversible damage over time.